
Create a database
- Sign up for an invite to Nile if you don’t have one already
- You should see a welcome message. Click on “Lets get started”
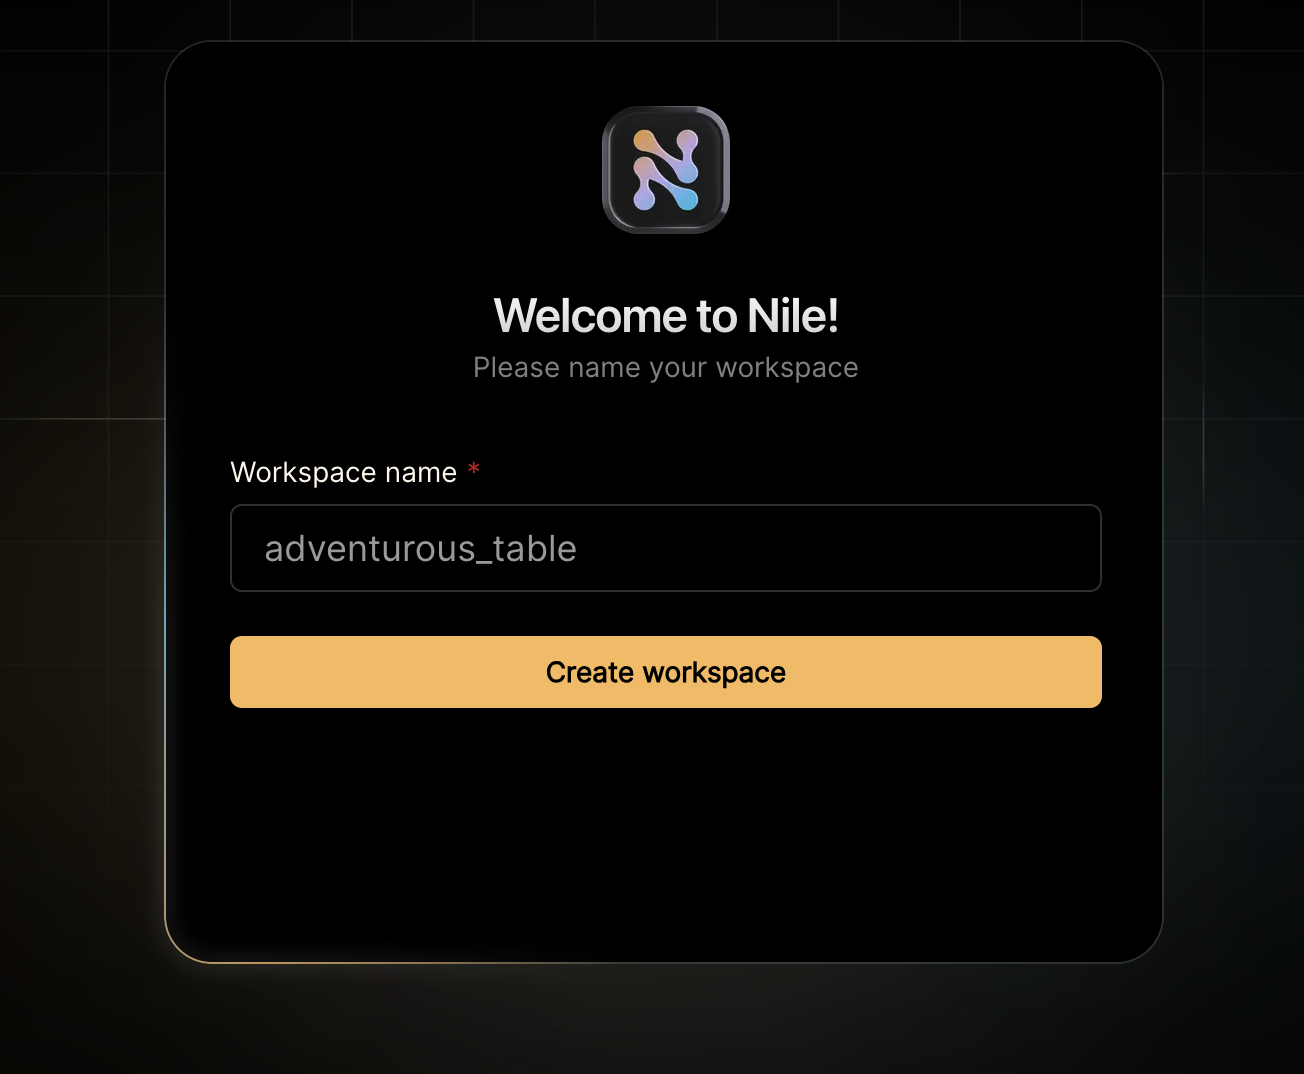
- Give your workspace and database names, or you can accept the default auto-generated names. In order to complete this quickstart in a browser, make sure you select to “Use Token in Browser”.
Create a table
After you created a database, you will land in Nile’s query editor.
For our todo list application, we’ll need tables to store tenants, users and todos.
Tenants and users already exists in Nile, they are built-in tables and you can see them in the list on the left side of the screen.
We’ll just need to create a table for todos.You will see the new table in the panel on the left side of the screen, and you can expand it to view the columns.The embedding column is a vector representation of the task. When the user adds new tasks, we will use these embeddings to find
semantically related tasks and use this as a basis of our AI-driven time estimates. This technique - looking up related data using embeddings and
using this data with text generation models is called RAG (Retrieval Augumented Generation).See the 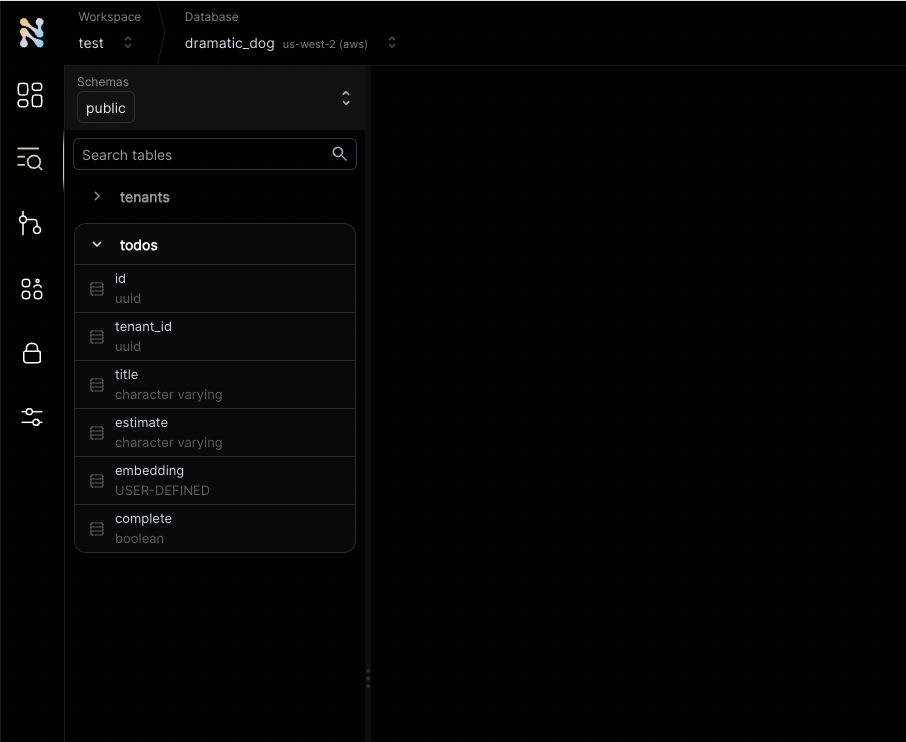
tenant_id column? By specifying this column, You are making the table tenant aware. The rows in it will belong to specific tenants. If you leave it out, the table is considered shared, more on this later.Get credentials
In the left-hand menu, click on “Settings” and then select “Credentials”.
Generate credentials and keep them somewhere safe. These give you access to
the database.
Get third party credentials
This example uses AI chat and embedding models to generate automated time
estimates for each task in the todo list. In order to use this functionality,
you will need access to models from a vendor with OpenAI compatible APIs. Make
sure you have an API key, API base URL and the names of the models you’ll
want to use.
Set the environment
Enough GUI for now. Let’s get to some code.If you haven’t cloned this repository yet, now will be an excellent time to do so.Copy Optional, but recommended, step is to set up a virtual Python environment:Then, install dependencies:
.env.example to .env and fill in the details of your Nile DB. The ones you copied and kept safe in step 3.It should look something like this:Run the application
If you’d like to use the app with the UI, you’ll want to build the UI assets first:Then start the Python webapp:Go to http://localhost:8000 in a browser to see the app.You can try a few things in the app:
- Sign up as a new user
- Create a tenant
- Create a todo task and see its time estimate. If you create more tasks, the estimates for new tasks will use the embeddings of the existing tasks to generate the estimates.
Check the data in Nile
Go back to the Nile query editor and see the data you created from the app.You should see all the todos you created, and the tenants they belong to.
What's next?
This example is a good starting point for building your own application with Nile.You have learned basic Nile concepts and how to use them with Python, FastAPI, and SQLAlchemy.You can learn more about Nile’s tenant virtualization features in the following tutorials:You can learn More about AI in Nile, or try a more advanced example like:
How does it work?
The app uses FastAPI, a modern Python web framework, and SQLAlchemy, a popular ORM. The app is built with tenants in mind, and it uses Nile’s tenant context to isolate data between tenants.main.py is the entry point of the app. It sets up the FastAPI app, registers the middleware and has all the routes.
Using AI models for time estimates
This example uses AI chat and embedding models to generate automated time estimates for each task in the todo list. We handle the time estimates in thecreate_todo method which is the route handler for @app.post("/api/todos"). This handler executes when users add new tasks.
This is what the handler code looks like:
get_similar_tasks, ai_estimate and get_embedding are all defined in ai_utils.py.
They are wrappers around standard AI model calls and database queries, and they handle the specifics of the AI model we are using.
This will make it easy to switch models in the future.
Getting similar tasks is done by querying the database for tasks with similar embeddings. Before we search the database, we need to generate the embedding for the new task:
SEARCH_QUERY task type. This is because we are looking for similar tasks to the new task. We use an embedding model
from the nomic family, which is trained to perform specific types of embedding tasks. Telling it that we are generating the embedding for a lookup vs
generating an embedding that we will store with the document (as we’ll do in a bit), should help the model produce more relevant results.
In order to use vector embeddings with SQL Alchemy and SQL Model ORM, we used PG Vector’s Python library.
You’ll find it in requirements.txt for the project. Note that we filter out results where the cosine distance is higher than 1.
The lower the cosine distance is, the more similar the tasks are (0 indicate that they are identical).
A cosine distance of 1 means that the vectors are essentially unrelated, and when cosine distance is closer to 2, it indicates that the vectors are semantically opposites.
The get_embedding function uses the embedding model to generate the embedding and is a very simple wrapper on the model:
ai_estimate to generate the time estimate.
This function also wraps a model, this time a conversation model rather than an embedding model. And it icludes the similar tasks in the promopt, so the model will
generate similar estimates:
Working with virtual tenant databases
The first thing we do in the app is set up the tenant middleware. TheTenantAwareMiddleware is defined in middleware.py,
and it is responsible for extracting the tenant ID from the request headers and setting it in the database session.
This ensures that all database operations are performed in the context of the current tenant.
login or create_tenant routes doesn’t need a tenant context.
Requests that don’t have a tenant context are considered to be global since they are performed on the database as a whole, not in the virtual database for a specific tenant.
To handle a request in the global context, we use a global session. This is a session that doesn’t have a tenant context. For example to create a new tenant:
get_tenant_session
function sets the tenant context for the session, and the query is executed in the virtual database of the tenant.
The last piece of the puzzle is the get_tenant_session function. It is defined in db.py and is responsible for creating the session with the correct context.
yield keyword is used to return the session to the caller, and the finally block is used to clean up the session after the request is processed.
And this is it. Thats all we need to do to build a multi-tenant app with Nile, FastAPI and SQLAlchemy.