
Create a database
- Go to the Nile console and create a workspace and database if you have not done so already.
- You should see a welcome message. Click on “Lets get started”
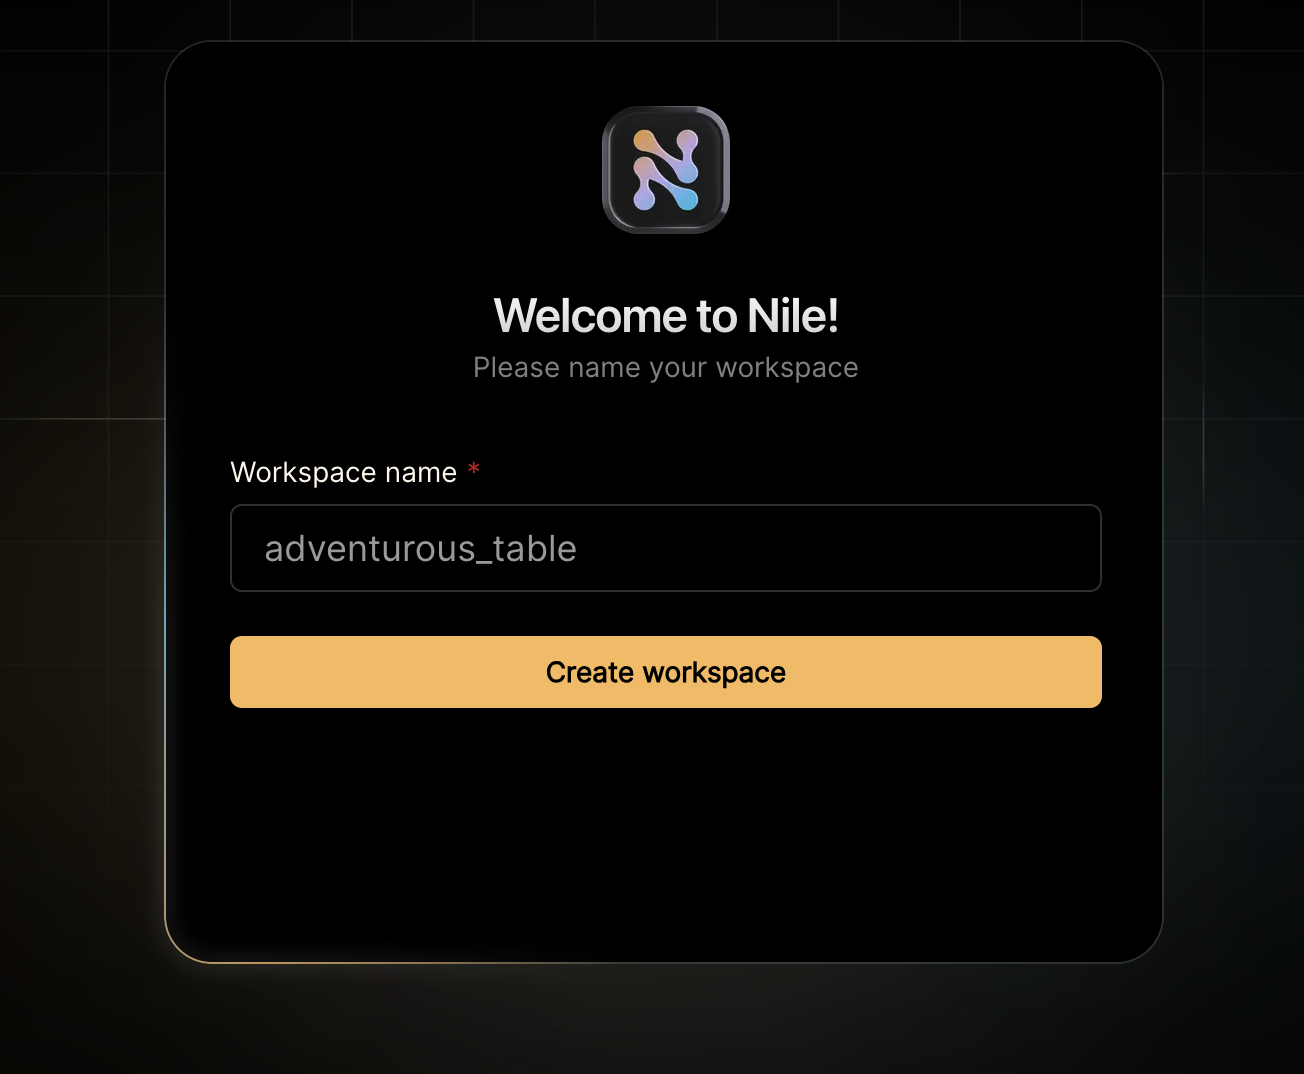
- Give your workspace and database names, or you can accept the default auto-generated names.
Create a table
After you created a database, you will land in Nile’s query editor. Since our application requires a table for storing all the “todos” this is a good time to create one:You will see the new table in the panel on the left side of the screen, and you can expand it to view the columns.See the 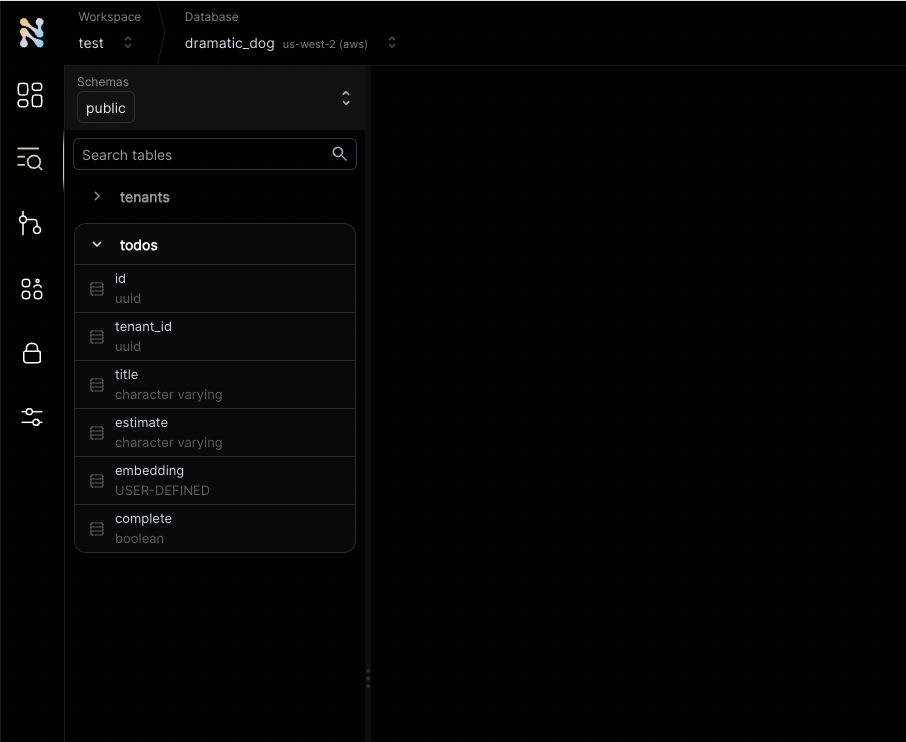
tenant_id column? By specifying this column, You are making the table tenant aware. The rows in it will belong to specific tenants. If you leave it out, the table is considered shared, more on this later.Get credentials
In the left-hand menu, click on “Settings” and then select “Credentials”.
Generate credentials and keep them somewhere safe. These give you access to
the database.
Get third party credentials
This example uses AI chat and embedding models to generate automated time
estimates for each task in the todo list. In order to use this functionality,
you will need access to models from a vendor with OpenAI compatible APIs. Make
sure you have an API key, API base URL and the names of the models you’ll
want to use.
Set the environment
Enough GUI for now. Let’s get to some code.If you haven’t cloned this repository yet, now will be an excellent time to do so.Rename Install dependencies
.env.local.example to .env.local, and update it with your database credentials.It should look something like this (you can see that I used Fireworks as the vendor, but you can use OpenAI or any compatible vendor):Run the application
node -v.Open http://localhost:3000 with your browser to see the result.If all went well, your browser should show you the first page in the app, asking you to login or sign up.Check the data in Nile
After you sign up as a user of this example app, you’ll be able to see this user by going back to Nile Console and looking at the users tableLogin with the new user, and you can create a new tenant and add tasks for the tenant. You can see the changes in your Nile database by running
What's next?
This example is a good starting point for building your own application with Nile.You have learned basic Nile concepts and how to use them with NextJS.You can learn more about Nile’s tenant virtualization features in the following tutorials:You can explore Nile’s JS SDK in the SDK reference.You can learn More about AI in Nile, or try a more advanced example like:
How does it work?
There are a few moving pieces here, so let’s break it down. This example uses NextJSapp router, so the application landing page is in app/page.tsx.
We’ll start here and go over the code for creating tenants, selecting tenants and adding tasks.
The SDK uses your credentials to call the Nile API. Every page, route and function in our app can use the same nile instance to access Nile APIs and DB.
But, we need to make sure we are using the right user and tenant context.
So we call configureNile, which take the cookies from next/headers and the tenant ID.
After this point, we can use nile to access the database and APIs, and it will use the authenticated user and tenant context.
In addition to accessing the database and requesting data server side, there are also APIs that are integrated for you via dynamic routes.
The route file api/[...nile]/route.ts intercepts routes from the client and responds accordingly. There is a single file that is used to export the nile instance into the routes, which is then used to export the various handlers.
In addition, the NextJS extension automatically handles obtaining the cookies from the request.
Listing tenants
Next thing we do inapp/tenants/page.tsx is to list all the tenants for the current user, but the SDK must know about the user. The simplest way to do that is to pass the NextJS cookies to the function.
We use Nile SDK to query the database for all the tenants for the current user.
Creating a tenant
When you click on the “Create Tenant” button, we pop out a modal form. The form is defined inapp/tenants/add-form.tsx and uses NextJS server actions.
Create tenant logic is in app/tenants/tenant-actions.tsx.
In createTenant method, we use Nile SDK to create a new tenant and link it to the current user.
tenants table, and also inserts a new row to tenant_users table, linking the current user to the new tenant.
You can see the new tenant in the Nile console by running select * from tenants.
Because the user is authenticated to the API, Nile automatically adds the user to the tenant they are creating.
Listing tasks
When you create a tenant or select an existing tenant, you are taken to the tenant’s todo list. The code for this page is inapp/tenants/[tenantid]/todos/page.tsx.
Since there is no API for listing specific data in your database, it is now time to being writing queries. Normally, you would write a where clause to accomplish some tenant-level isolation (and you still can), the Nile SDK does it a little bit differently.
Instead of using SQL where clauses to get only todos for this specific tenant, we are relying on Nile’s tenant isolation feature:
configureNile without parameters because there was no tenant yet.
Behind the scenes, Nile does two things:
- Check that the user is a member of the tenant and indeed has access to these todos
- Apply tenant isolation and execute the query in a “virtual tenant DB”.
todo, tenants and tenant_users, so the code is simpler and more performant.
Adding a task
When you click on the ”+” to add a new task or on the checkbox to mark it as done, we again rely on NextJS server actions to make things simple. You can find the logic for adding a task inapp/tenants/[tenantid]/todos/todo-actions.tsx.
As you can see, we again use the tenant context to insert the new task:
AI-driven time estimates
This example uses AI chat and embedding models to generate automated time estimates for each task in the todo list. We handle the time estimates inapp/tenants/[tenantid]/todos/todo-actions.tsx, when we add a new task.
When you add a new task, we use the embedding model to generate an embedding for the task text:
embedTask function is defined in lib/AiUtils.tsx and uses the embedding model to generate the embedding.
We wrap the call to the model since some vendors have slightly different inputs and outputs. This will let us switch vendors easily in the future.
addTodo handler calls it:
aiEstimate function is defined in lib/AiUtils.tsx and first it looks up similar tasks using embeddings. Because we are still in the tenant
context (see the use of tenantNile client), we only look up tasks for this tenant: