
- Authentication, cookies, sessions
- Tenant isolation
- Securing endpoints
Authentication
1
Create a new app
2
Install Dependencies
3
Obtain Database Credentials
- If you haven’t signed up for Nile yet, sign up here and follow the steps to create a database.
- Navigate to Database Settings in your database’s UI at console.thenile.dev.
- Go to Connection settings.
- Select the CLI icon, and click Generate credentials
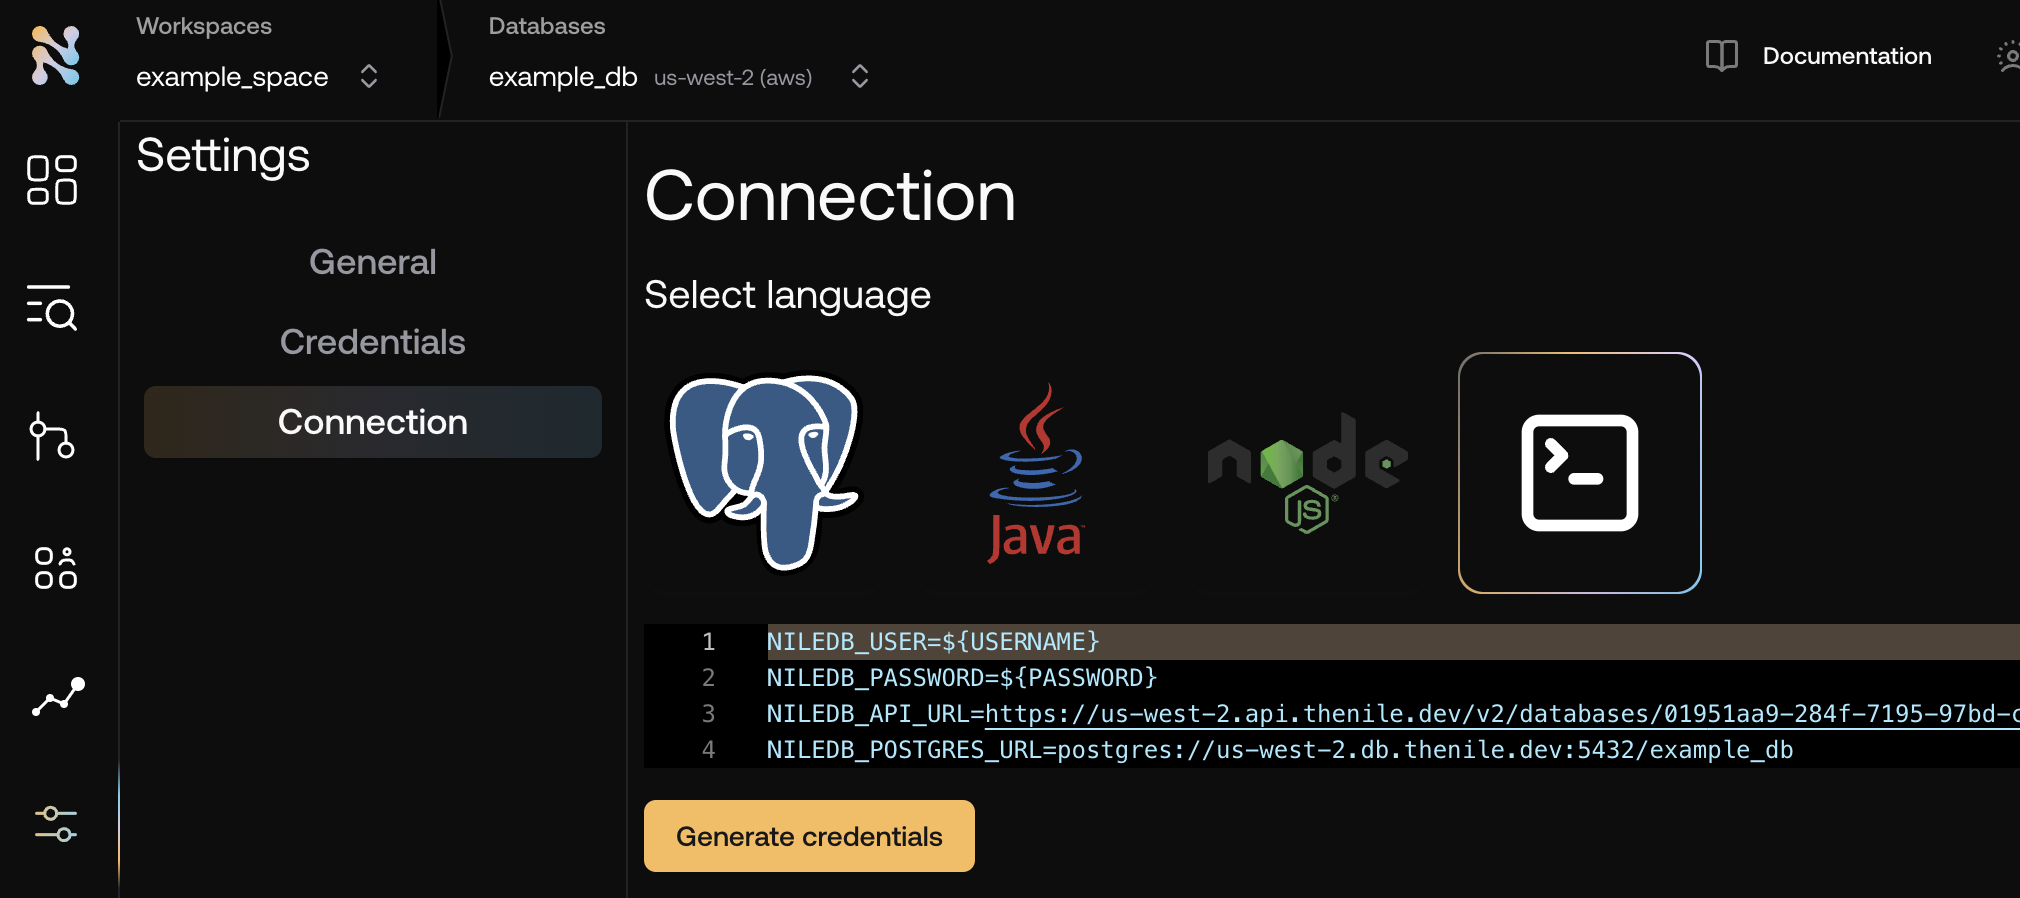
- Copy the required credentials and store them in an
.envfile so they can be used in the application to connect to the Nile auth service..env
4
Implement server
Create a new file called
server.mjs and add the following code:server.mjs
5
Run the server
6
Obtain user credentials
Nile auth uses cookies to store session information. To obtain them via cURL, create a file called Set the permissions to be executableRun the command with the required paramsYou can then curl the API with the cookies
get_cookies.sh and add the following code:get_cookies.sh
Tenant Isolation and Secure Endpoints
Since Nile-Auth is designed to work with B2B applications, it is important to understand how to work with tenants, their access to data, and how to secure endpoints. We are going to extend the previous example with new functionality. We’ll add a new table to the database, and a new endpoint that queries the data, making sure the endpoint is both secure and isolated to the tenant.1
Create a Tenant
You do not need a new endpoint in order to extand your application with tenant functionality. Nile’s SDK includes generated routes for managing tenants.
We just need to call them:
2
Extract the tenant ID from the request params
There are multiple ways to pass the current tenant to the web app on each request.
You can pass it as a param, a header, or a cookie. In this example we’ll pass it as a param.Add the following code to your
server.mjs file, just after the app.use(express.urlencoded({ extended: true })); line.
This will extract the tenant ID from the request params, and configure the nile client to use it as
the current tenant before handling any request.server.mjs3
Create a Tenant-Aware Todos Table
In Nile console or another database client of your choice, run the following SQL to create a new table called
todos
and populate it with some example tasks.4
Add route
Add a route that takes a tenant Id and queries the database. if
app.param is set
(as we did in the previous step), the query will automatically be isolated to the
current tenant. See how it returns data onlyfor the tenant we requested even
if there are multiple tenants in the database and even though the query does not include a tenant_id filter.Add the following code to your server.mjs file, just after the app.delete(paths.delete, handler); line:server.mjs5
Securing Routes
The route we created is isolated to a specific tenant, however at this point, any user can call it. It is not secure.
Lets protect it by checking if the user is authenticated. Add the following code to your
server.mjs file, just after the app.get("/api/tenants/:tenantId/todos", async (req, res) => { line:6
Run the server
If you haven’t already, run the server:
7
Test the route
First, lets try to access the route without authentication. Make sure you replace the tenantId with the one you created in the previous step.You should see the following outputNow, lets try to access the route with authentication. Make sure you replace the tenantId with the one you created in the previous step.First, authenticate the userThen, access the route, using the cookies we got in the previous stepYou should see the following output